फुल ब्रिफ
The Artistic Journey: From Conceptualizing to Completing a Mosaic Masterpiece
Creating mosaic art is far more than a simple assembly of fragments; it is the process of manifesting a vision into a tactile and visual reality. While a finished piece may appear seamless or even spontaneous, its beauty is the result of countless deliberate choices regarding color, texture, and precision. Whether you are crafting a large-scale mural, a unique tabletop, or an intricate lamp, the journey from initial thought to the final polished glass follows a structured creative path.
Marjorie Alice Ellington
डेस्क रिपोर्टर
कॉन्टेक्स्ट
पढ़ते समय संदर्भ नोट्स साथ रखे गए हैं।
लाइन
डेली सिग्नल
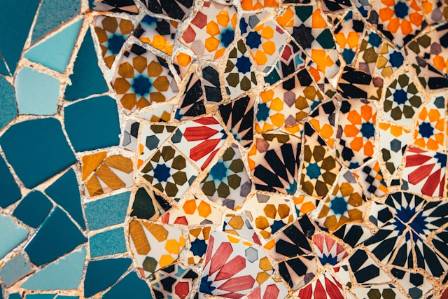
Creating mosaic art is far more than a simple assembly of fragments; it is the process of manifesting a vision into a tactile and visual reality. While a finished piece may appear seamless or even spontaneous, its beauty is the result of countless deliberate choices regarding color, texture, and precision. Whether you are crafting a large-scale mural, a unique tabletop, or an intricate lamp, the journey from initial thought to the final polished glass follows a structured creative path.
This ancient craft translates imagination into a permanent form. Every project—no matter the size—undergoes a series of organized phases where planning, material selection, and technical execution converge.
Essential Inventory for DIY Mosaic Creation
Before beginning your project, gather the necessary supplies to maintain focus and ensure a smooth workflow. A standard mosaic toolkit typically includes:
Materials and Surfaces
-
Tesserae: Various tiles made of glass, ceramic, stone, or mirror.
-
Embellishments: Found objects like shells, beads, or pebbles.
-
Substrate: A base surface such as a wooden panel, flower pot, lamp base, or concrete slab.
Adhesives and Tools
-
Glues: White craft glue for small items, clear silicone for glass-on-glass work, or thin-set mortar for outdoor installations.
-
Cutting Tools: Tile nippers or wheeled glass cutters for shaping pieces.
-
Safety Gear: Protective goggles and gloves.
Grouting and Finishing
-
Grout: Available in various colors to fill the gaps between tiles.
-
Application Tools: Rubber floats, sponges, and soft cloths for polishing.
-
Sealer: Used to protect the finished work from moisture or heat.
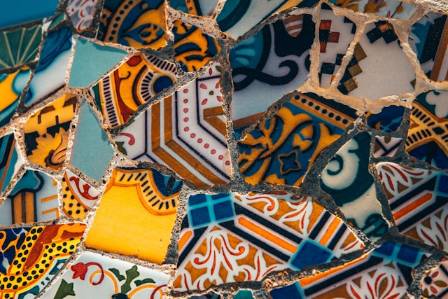
The Eight Steps of the Mosaic Process
1. Conceptualizing the Idea
Every masterpiece begins with a core concept. This might range from a simple geometric pattern or a floral motif to a complex historical scene. At this stage, the artist decides the primary theme and the final location of the work—whether it will hang on a wall, wrap around a lamp, or serve as a functional tabletop.
2. Drafting the Design
Once the concept is clear, it is translated into a visual sketch. Artists often draw the design directly onto the substrate or on paper at full scale. This phase is crucial for establishing balance and managing space. For curved objects like vases, designers must account for distortion to ensure the pattern flows naturally around the contours. Color palettes are also finalized here to establish the desired mood and contrast.
3. Selecting the Right Materials
The choice of material dictates the character of the mosaic. Glass is favored for its light-reflective properties in decorative lamps, while ceramic tiles are chosen for their durability on functional surfaces like floors. Natural stone offers an earthy, timeless texture, and mirror fragments provide sparkle. Each material is selected based on how it will interact with the light in its final environment.
4. Preparing the Substrate
The backing surface must be clean and sturdy enough to support the weight of the tiles and adhesive. Common bases include MDF or wood for indoor art, concrete for murals, and glass for translucent jars. For complex or curved surfaces, artists often segment the work into zones to maintain symmetry and balance throughout the application.
5. Arranging the Tesserae
This is the heart of the process, where individual pieces—known as tesserae—are placed according to the sketch. Artists may use the "direct method," gluing pieces straight onto the final surface, or the "indirect method," arranging them temporarily before transferring them. Great care is taken regarding the "interstices" (the gaps between pieces), as the spacing creates the rhythm and flow of the design.
6. Applying the Adhesive
Different adhesives serve specific needs. Silicone is ideal for glass-on-glass projects, while mortar is used for heavy-duty outdoor murals. In vertical projects like lamps, quick-setting transparent glues are preferred to prevent pieces from sliding. Applying the adhesive in sections allows for minor adjustments before the bond becomes permanent.
7. Grouting the Design
Grout serves as the "connective tissue" of the mosaic, filling the voids between tiles to create a unified surface. The color of the grout can drastically alter the artwork’s appearance: black grout makes vibrant colors pop, while white grout creates a softer, more blended aesthetic. Some decorative glass-on-glass designs skip this step to maintain transparency, but functional surfaces almost always require it for stability and hygiene.
8. Final Refinement and Polishing
After the adhesives and grout have fully cured, the mosaic is inspected for any rough edges or gaps. The surface is cleaned of excess residue and polished with a soft cloth to bring out the shine of the tiles. Finally, a sealer may be applied to protect the work from the elements, ensuring the craftsmanship endures for years to come.
Through these deliberate steps, a simple collection of fragments is transformed into an expressive work of art characterized by depth, movement, and enduring beauty.

अगली रिपोर्टें
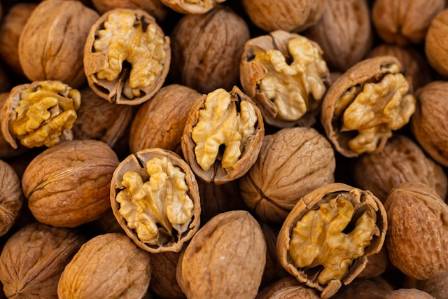
Health Benefits of Walnuts and How Much You Should Eat
Walnuts have a long history that can be traced back to ancient Persia, where they were once considered a food reserved for royalty. Later on, they spread to California and eventually became one of the state’s top agricultural products, even ranking among the top 10 commodities in 2021.

अगर आपको शांति और आराम की ज़रूरत है, तो 14 बेहतरीन जगहें
रोज़ाना का तनाव आपके दिमाग और शरीर पर भारी पड़ सकता है, यही वजह है कि कभी-कभी आपको आराम करने के लिए अपने माहौल से पूरी तरह बाहर निकलने की ज़रूरत होती है। एक शांतिपूर्ण छुट्टी न केवल आपके शरीर को तरोताज़ा कर सकती है, बल्कि आपके दिमाग को भी साफ़ कर सकती है, ताकि जब असली दुनिया में वापस लौटने का समय आए, तो आप पूरी तरह तरोताज़ा महसूस करें। और क्या यही छुट्टी मनाने का उद्देश्य नहीं है? हालांकि, सबसे आरामदायक जगह कौन सी है, यह आपकी व्यक्तिगत पसंद पर निर्भर करता है। कुछ लोगों के लिए, एक आरामदायक छुट्टी का मतलब उष्णकटिबंधीय समुद्र तट पर धूप सेंकना हो सकता है, जबकि दूसरों के लिए इसका मतलब हवा वाले तट पर कम लोगों के साथ एक पगडंडी पर चलना हो सकता है। आप चाहे कहीं भी जाएँ, आपको एक ऐसी जगह ज़रूर मिलेगी जो आपकी शांति के लिए समर्पित है। हमने दुनिया भर में अपनी पसंदीदा जगहों की खोज की और ऐसी जगहें ढूँढ़ीं, जहाँ हमें उम्मीद है कि आपको अपनी अगली आरामदायक छुट्टी ज़रूर मिलेगी।

झानकियाओ पियर – किंगदाओ ओल्ड टाउन
एक पुराना पियर विज़िटर्स को पानी के ऊपर ले जाता है, जो एक्सप्लोर करने और शांति का न्योता देता है
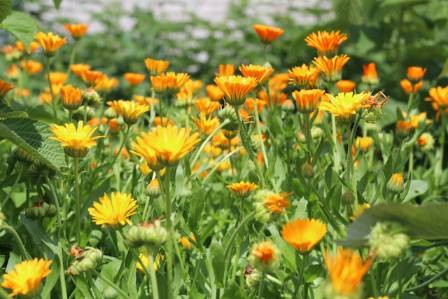
Calendula Beautiful and Useful
There are countless reasons to grow a generous patch of calendula, scientifically known as Calendula officinalis. This cheerful plant provides flowers for bouquets and herbal preparations, continues blooming until the first frost, grows well in many garden conditions, attracts pollinators, adds color and flavor to dishes, and produces seeds that are simple to collect for future planting.

The Environmental and Safety Impact of Sport Utility Vehicles
By November 2000, American consumers had purchased 2.8 million SUVs, accounting for 17 percent of all vehicle sales that year. A prominent example of this trend is the Ford Excursion, which weighs 7,600 pounds—the equivalent of three Honda Civics—and accommodates nine passengers while achieving only 12.5 miles per gallon. Over its operational lifespan, a standard Honda Civic releases 40 tons of carbon dioxide, whereas a Ford Excursion is responsible for 134 tons of the same greenhouse gas.
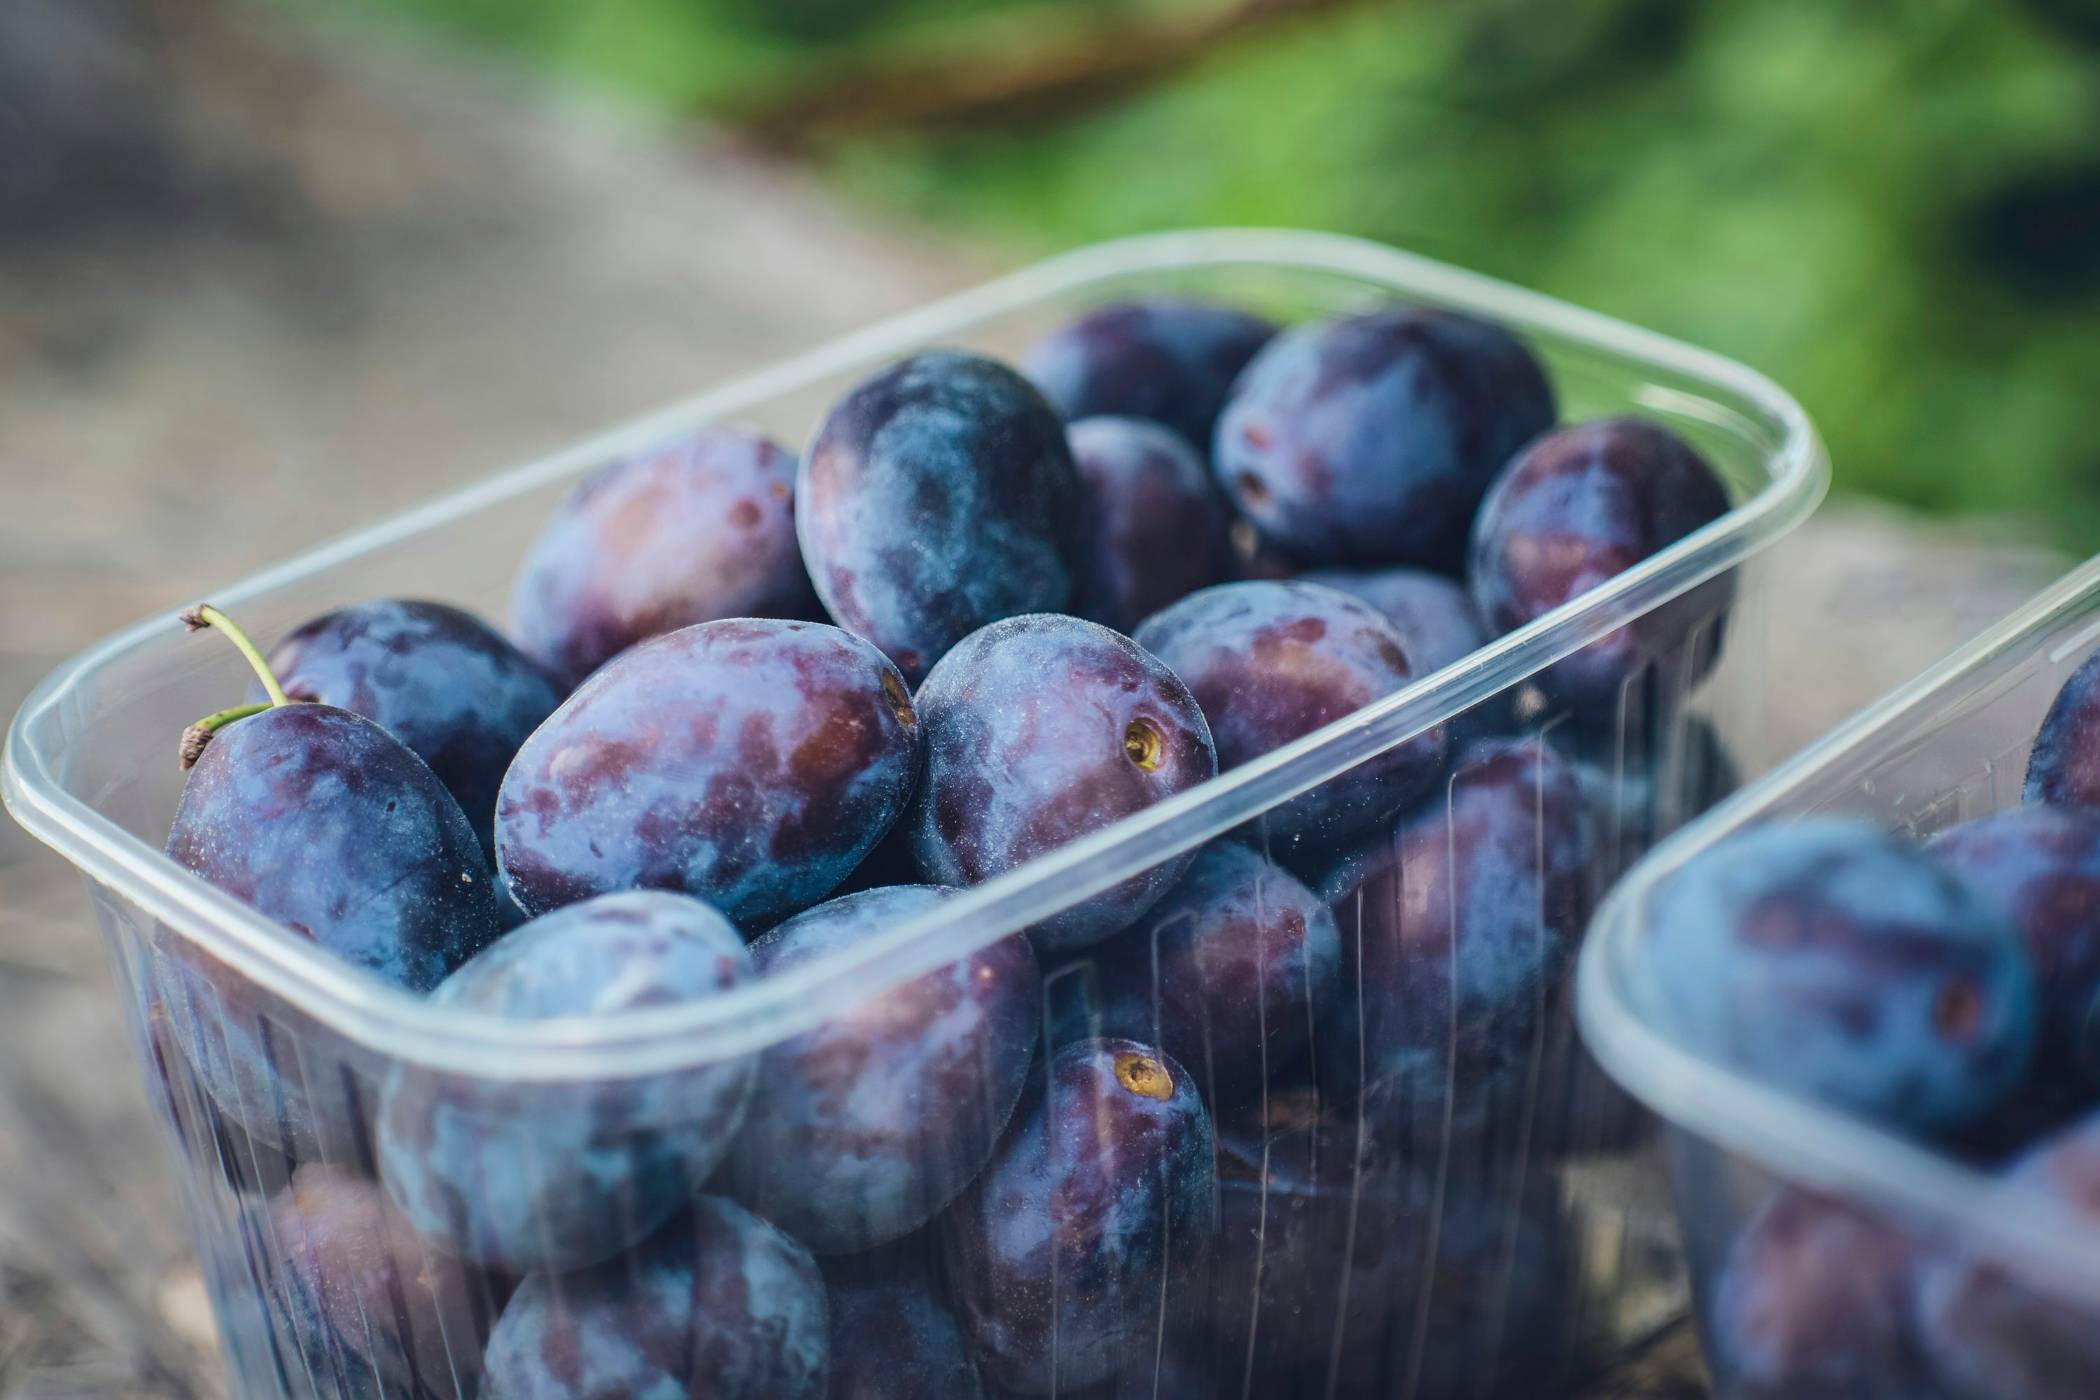
आलूबुखारा और आलूबुखारा जूस के 10 बेहतरीन स्वास्थ्य लाभ
आलूबुखारा क्या है? आलूबुखारा सूखे हुए बेर होते हैं। कटाई के बाद, बेर को निर्जलित किया जाता है और फिर अर्ध-सूखे रूप में पैक किया जाता है, जूस या सिरप में डिब्बाबंद किया जाता है या उन्हें जूस में संसाधित किया जाता है। आलूबुखारा के स्वास्थ्य लाभों में शामिल हैं: सुरक्षात्मक यौगिकों से भरपूर हड्डियों के स्वास्थ्य का समर्थन कर सकता है स्वस्थ हृदय को बढ़ावा दे सकता है टाइप 2 मधुमेह के जोखिम को कम कर सकता है उम्र बढ़ने की प्रक्रिया को धीमा कर सकता है पाचन तंत्र का समर्थन करता है आंत के स्वास्थ्य का समर्थन कर सकता है संज्ञानात्मक स्वास्थ्य का समर्थन कर सकता है लोहे की कमी से होने वाले एनीमिया को कम करने में मदद कर सकता है ऊर्जा का एक स्थिर स्रोत प्रदान कर सकता है